Repairing a concrete driveway is a detailed process that involves assessing the damage, gathering necessary tools, cleaning the surface, filling cracks and holes, and applying a high-quality sealer for protection. Whether you’re a homeowner or a professional, a systematic approach ensures long-lasting results and a professional finish. If you need assistance, driveway contractors in Torrance can provide expert guidance and support for durable repairs.
Assessing the Damage
Before beginning any repair work on a concrete driveway, it’s essential to evaluate the damage thoroughly. Start by inspecting the surface for cracks, spalling, or discoloration. Measure cracks for width and depth using a crack ruler, and assess the severity of spalling to determine if it’s superficial or structural. Discoloration could be a sign of hidden issues like water infiltration or chemical damage. Additionally, look for signs of settlement or unevenness in the driveway that could indicate underlying issues. Pay attention to drainage problems that might lead to further damage in the future. This comprehensive assessment will guide the repair process, ensuring all necessary repairs are addressed effectively.
Gathering the Necessary Tools
To begin the repair process, it’s important to gather all the tools and materials you’ll need. This typically includes a hammer and chisel for removing loose concrete, a wire brush for cleaning, a pressure washer for deep cleaning, and concrete mix for the repairs. A trowel is used to apply the concrete mix, and safety gear like gloves and goggles are essential. Additionally, you’ll need a concrete sealer for finishing, a wheelbarrow for mixing the concrete, and a bucket for water. Ensuring all tools are in good condition and easily accessible before you start will make the process smoother and help achieve a professional finish.
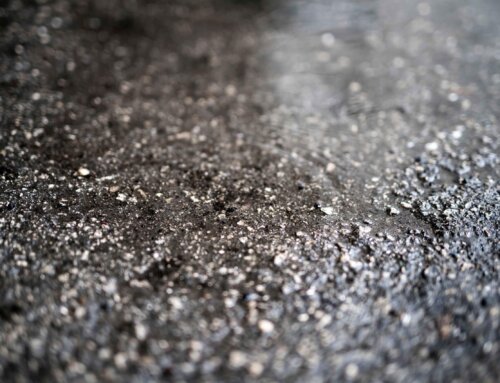
Preparing the Concrete Surface
Before applying any repair materials, it’s critical to clean and prepare the concrete surface thoroughly. Start by removing debris, dirt, or loose concrete with a broom, pressure washer, or wire brush. For oil stains, use a degreaser and scrub the area, then rinse it thoroughly. Examine the surface for cracks, spalling, or places where the concrete is deteriorating. Use a hammer and chisel to remove loose concrete and create clean edges around the damaged areas. Ensure the surface is completely dry before starting the repairs, as moisture can affect the bonding of repair materials. Proper surface preparation is crucial to ensuring the longevity and success of the repair.
Filling in Cracks and Holes
The next step is filling in cracks and holes with an appropriate concrete patching compound. Choose a product that matches the composition and color of your existing driveway. Begin by cleaning the cracks and holes with a wire brush or high-pressure water jet, ensuring the area is free of dust and debris. After the area is clean and dry, mix the patching compound according to the manufacturer’s instructions. Use a trowel, putty knife, or caulking gun to fill the cracks and holes, then smooth the surface with a trowel to ensure it’s level with the surrounding concrete. Let the patched areas cure fully before moving on to the next step.
Finishing and Sealing the Repair
Once the patches have cured, the final step in repairing a concrete driveway is finishing and sealing the surface. Start by smoothing out the patched areas to ensure they’re even with the rest of the driveway. Next, apply a concrete sealer to protect the repairs from moisture, chemicals, and general wear and tear. Choose a high-quality sealer for driveways and follow the manufacturer’s application guidelines. Typically, you’ll use a brush or roller to apply an even coat over the repaired areas. Allow the sealer to dry completely before using the driveway. Regular reapplication of the sealer will help maintain the integrity of the repairs over time.
Other related posts: